
The past month has been a bit busy with welcome visits from family and friends. It truly feels as if life is returning to a new normal. We took quick trips to Las Vegas and the North Rim of the Grand Canyon. We’ve had rain, which is welcome since we are desert dwellers. Anyway, it’s time to buckle down and produce some handmade cards again. Altenew sells some of the best materials for beautiful handmade cards, and they have a program for becoming part of their family of educators. Today, I am writing about my first homework assignment in the Altenew Educator Certification Program.
Starting the Wild Rose Handmade Cards
I used the Altenew Build-A-Flower: Wild Rose Layering Stamp and Die Set for my All About Layering 3 homework lesson. First, I stamped the main floral image and the leaves on white cardstock using my stamping platform. I chose Altenew’s Crisp Dye Ink in Shadow Creek, Limeade, Grass Field, and Evergreen for the leaves, and Marigold, Snap Dragon, Warm Sunshine, Grapevine, Pink Diamond, Cotton Candy, and Coral Berry for the flower. I made the decision not to use black for the outline. Using Grapevine to outline the flower and Evergreen to outline the leaves gave a softness to the image that I really like.
Stamping the different layers was a snap using Altenew’s provided layering guide. Each step contains reference points for ease of use. If for some reason you lose your guide (included with each set), you may download it from Altenew’s website.
Next, I cut out the images with the matching dies. It’s nice to have matching dies, don’t you think? It’s faster than fussy cutting, and so much easier on your hands.
Finishing the Card
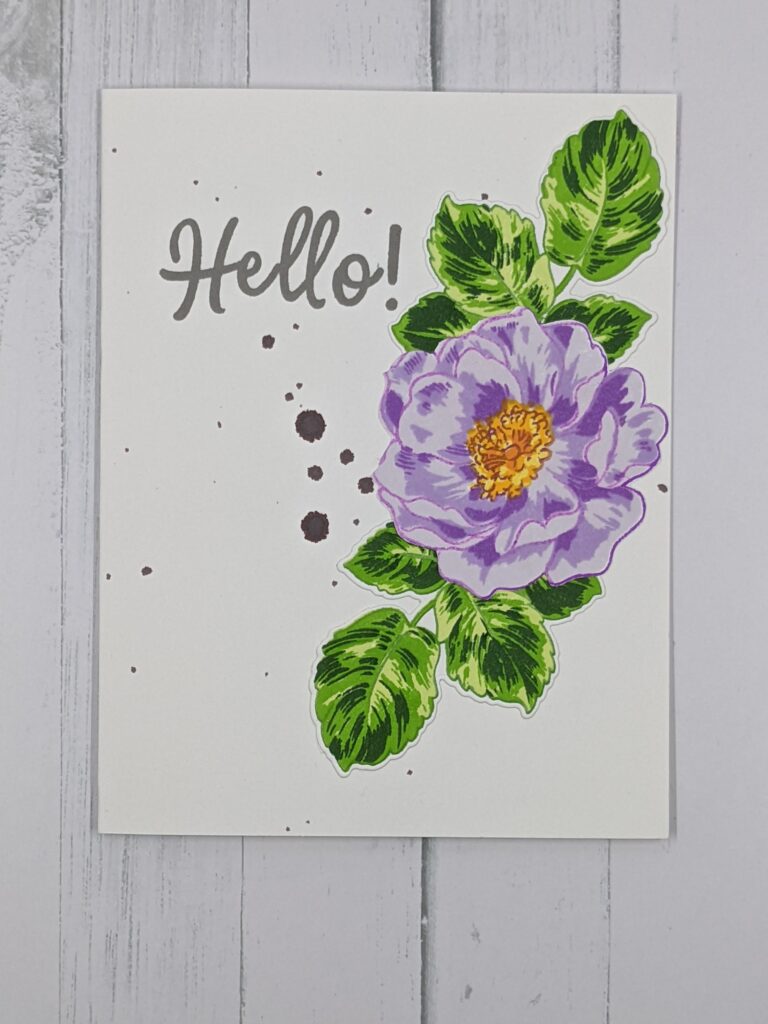
After that, I played with the images to find a placement pleasing to the eye. Once I had a general idea, I cut a piece of 110 lb Classic Crest Solar White Card stock to 5 1/2″ x 8 1/2″, scored it at 4 1/4″, and folded it in half to make my card base. I stamped the smaller detail flowers and vines in Gray Denim Crisp Dye Ink. I also spattered Winter Fog on the front with a Watercolor Brush Marker. After I let this dry, I arranged the die cut flower and leaves on the front and attached them with liquid glue. Finally, I stamped Hello! from the Halftone Circles stamp set.
What I Learned
Using an outline color other than black softened the image and made it a bit more realistic. On one of my early attempts, I used greens that were too close in hue. There was no drama and it did not look realistic. Darker colors are needed to simulate shadows!
I’m happy to have a versatile card that is easily duplicated and can be used for many occasions. I’ve already made several of these simple but beautiful handmade cards! It’s also fantastic in purple shades, as you can see in the last photo.