
My next session in the Altenew Educator Certification Program is all about stencils. The lessons included creating your own stencils using dies, using embossing paste through a stencil, stamping with stencils, and stencil overlays. For my homework assignment, I chose to make a card using embossing paste through a stencil.
Background Stencil
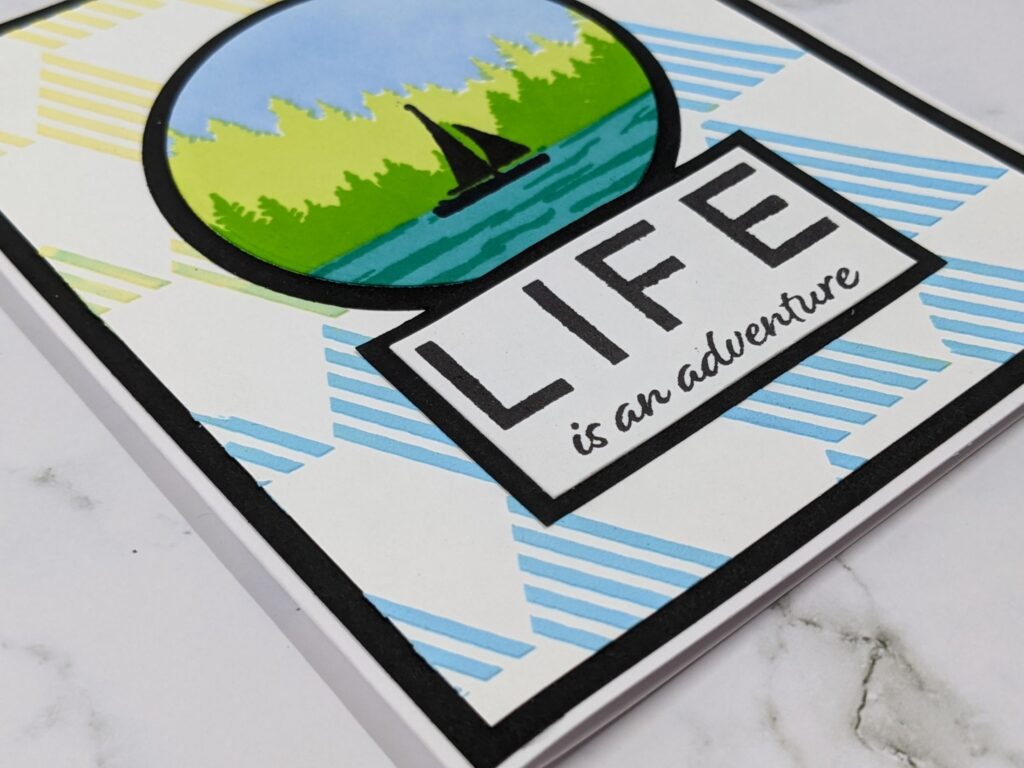
There are tons of background stencils available in the market. Altenew’s Illusion Hexagons Background Stencil is an interesting geometric. I thought it would be the perfect counterpoint to their Let’s Go landscape stencil, mimicking the reflection of light on water. Using Turquoise and Fresh Lemon Watercolor Brush Markers, I mixed the colors into some Embossing Paste. Next, I used a palette knife to scrape the paste into the stencil placed over a piece of white cardstock. After that, I put it aside to dry.
Landscape Detail Stencil
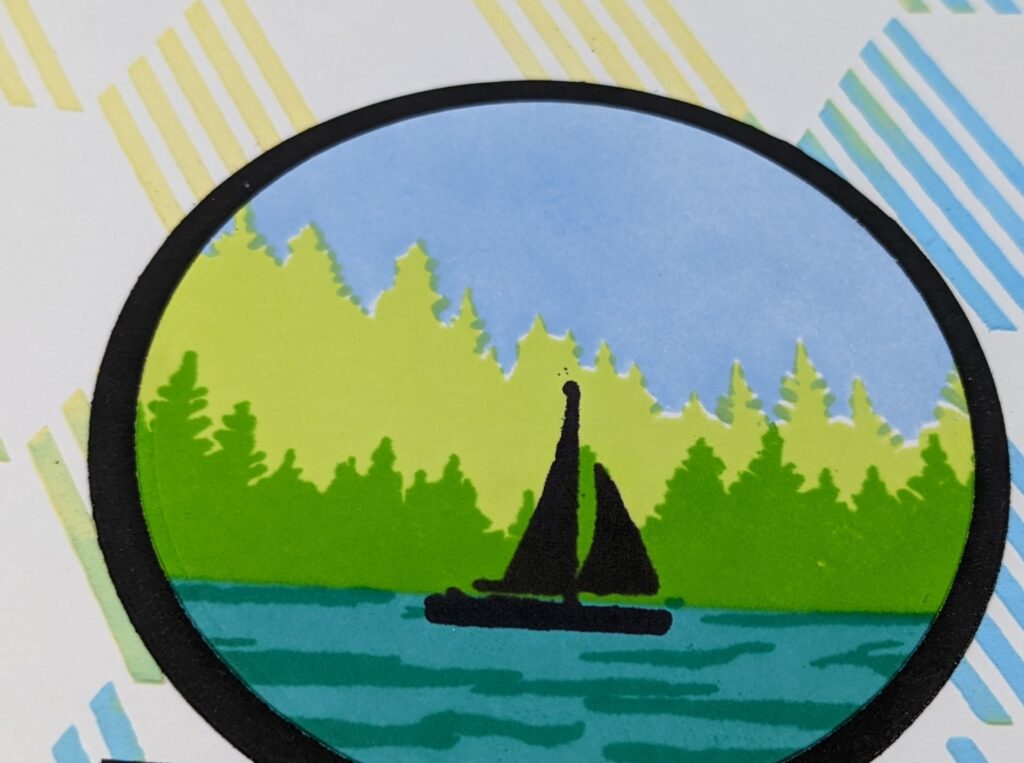
The Let’s Go Stencil creates a couple different scenes. I chose trees with a sailboat on a lake. First, I created the sky by applying Caribbean Sky Crisp Dye Ink with a Mini Blending Brush. Next, I used the coordinating Let’s Go Stamp Set to insert the trees, lake, and sailboat. Inks used were Jet Black, Limeade, Grass Field, Emerald, and Lagoon. Following that, I stamped the sentiment. All the elements were then layered onto black cardstock and assembled onto the card base.
What I Learned
A couple areas of my background are a bit muddied where the two colors of embossing paste met. Although I like the blended look, I think it would have served this project better to either be a bit more intentional on the blending, or to keep the colors crisp and separate. Having coordinated stencils and stamps made this card a breeze. Other than allowing time for the embossing paste to dry, this card came together very quickly.
Previous AECP lessons I’ve completed: “All About Layering 3”, “All About Layering 4”