Continuing in my Altenew Educator Certification Program journey, the next session I completed was Easy Ink Blending Techniques. I love the soft and dreamy backgrounds I create with just a bit of ink and a blending brush. The lessons included in this class block are Basic Ink Blended Backgrounds, Ink Blend Card Stock, Adding Details to Ink Blending, Emboss Resist, Faux Watercolor, and Putting It Into Practice.
Ink Blending
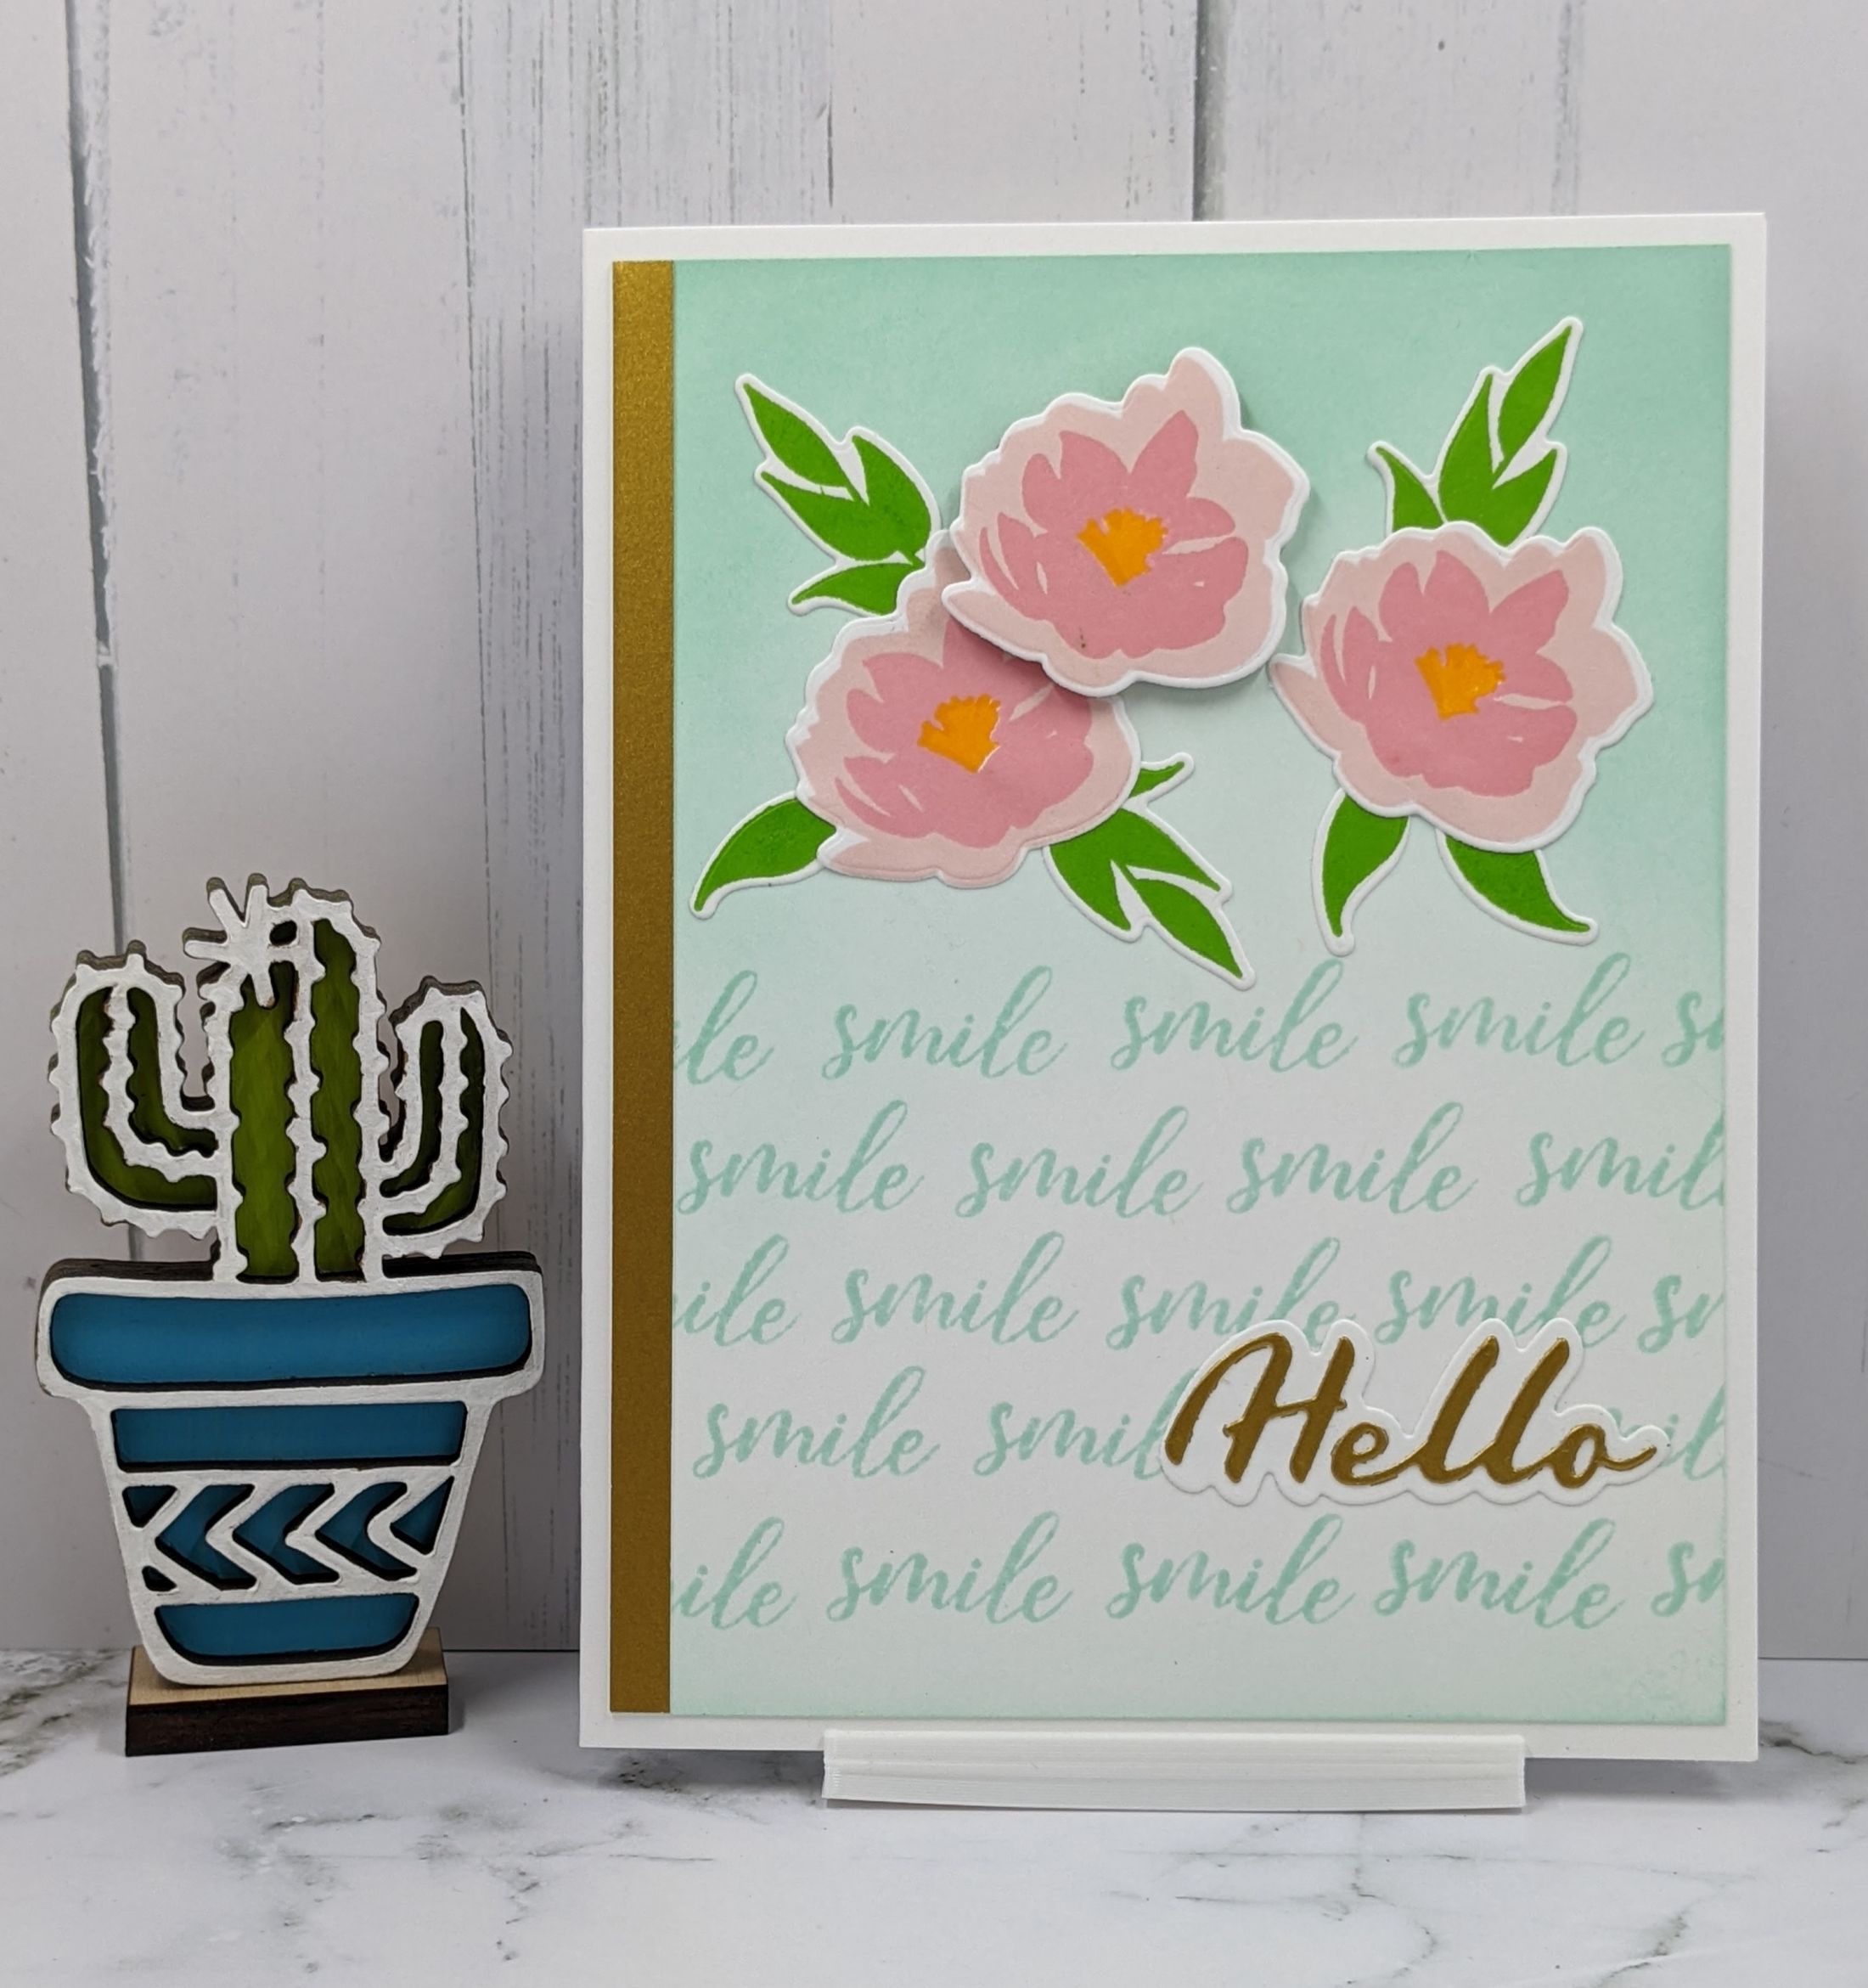
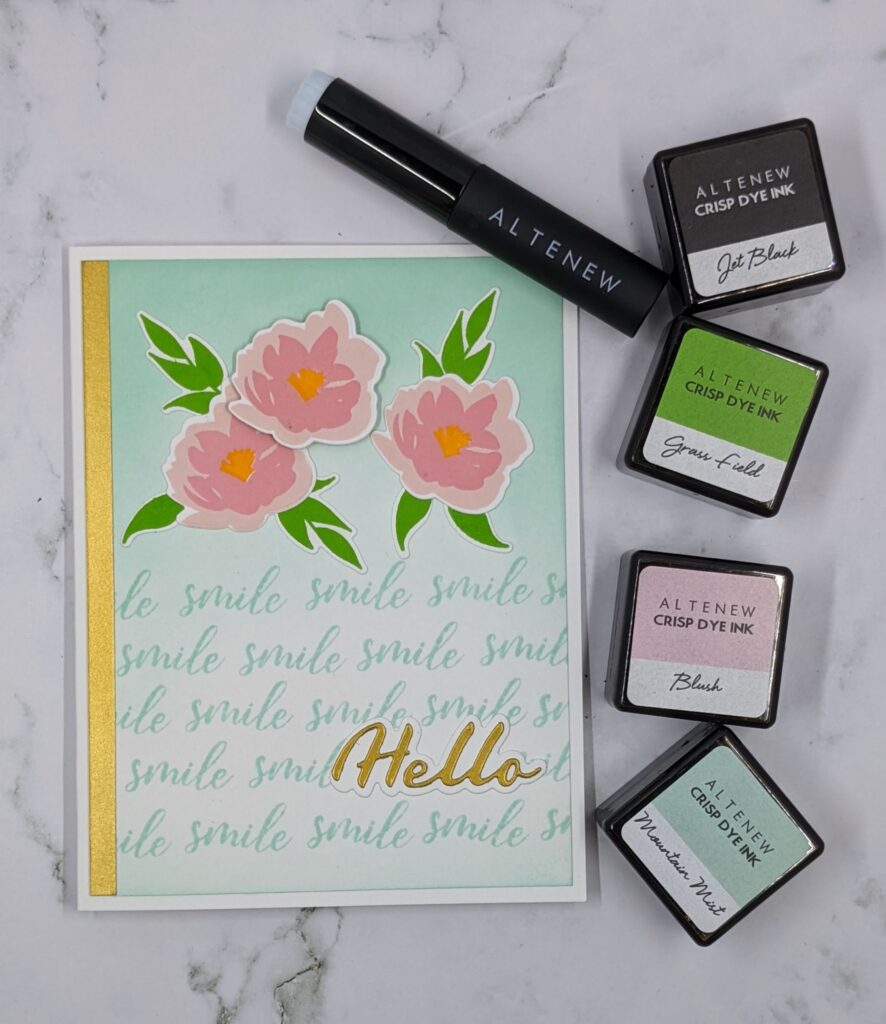
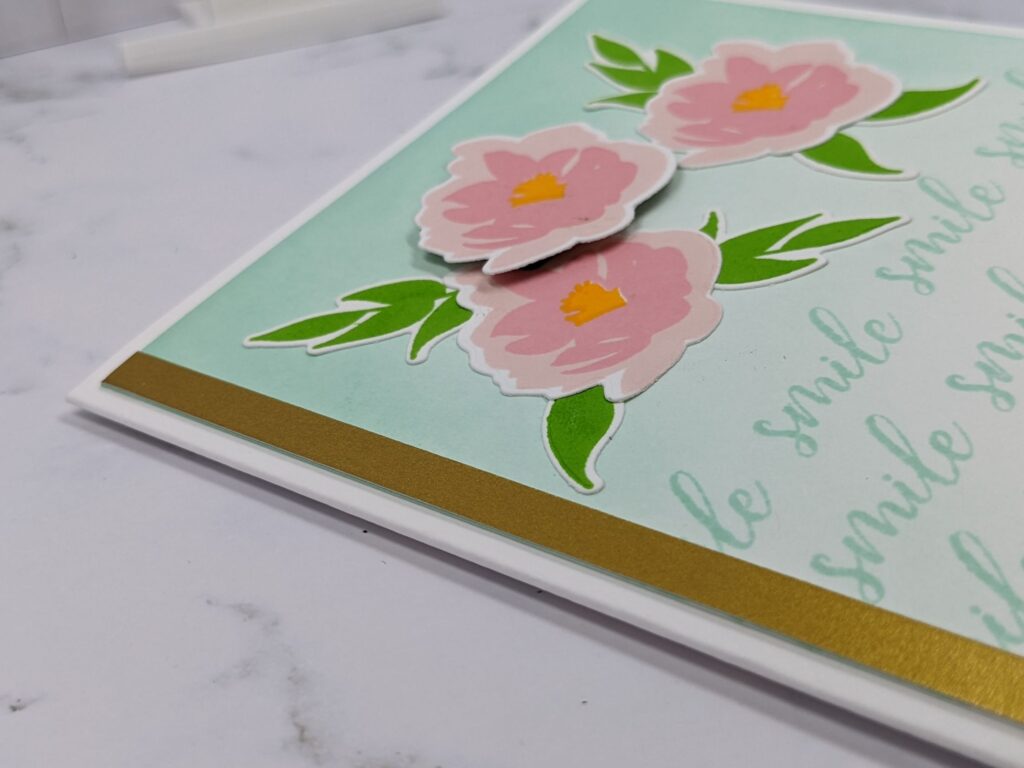
To start this project, I chose one of Altenew’s Mini Delight stamp and die sets, Smile Blooms. I used soft ink colors. First, I inked Mountain Mist, a light green, around the edges of a piece of white card stock cut to 4″x5 1/4″. Then I deepened the ink blending on the top third of the card, intensifying the color. I made sure I started blending off the cardstock, to avoid depositing noticeable spots in any one area. Next, I used my magnetic mat and ruler to stamp the word “smile” in lines across the bottom two thirds of the card.
Card Creation
Continuing, I stamped the first layer of the flowers in Blush Crisp Dye Ink. Then, I stamped the second layer in Cotton Candy, the centers in Snapdragon, and the leaves in Grass Field. Next, I cut them using the coordinating dies. Following that, I cut “Hello” from the Simple Greetings Die set. Next, all the pieces layered onto the ink blended background and I glued them into place. To continue, the center flower I raised with a pop dot, adding depth and dimension. Finally, the last piece was a thin piece of gold metallic cardstock for the left side of the card.
What I Learned
This was the first time I used my magnetic mat and ruler to stamp images in a straight line. I’ve used it in the past to hold items I had a hard time coloring, and to put ink through a stencil. I’ll be using it more often in the future!
See my previous AECP homework assignments: layering 3, layering 4, and stencil.