Continuing in my Altenew Educator Certification Program journey, the next session I completed was Irresistible Inking Techniques. This module is all about the multiple ways and techniques to use ink pads. There are four lessons included in this block. Layered stamping, direct-to-paper inking, painting with ink pads, block inking for a shadow effect, and using a brayer are all covered. My project utilized layered stamping, and I inked the back of a clear stamp for the background behind the sentiment.
Block Inking a Background
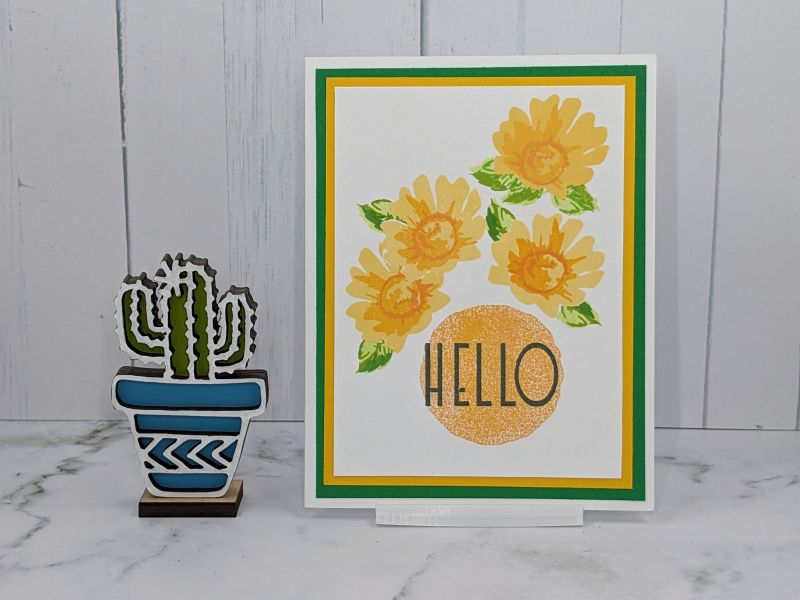
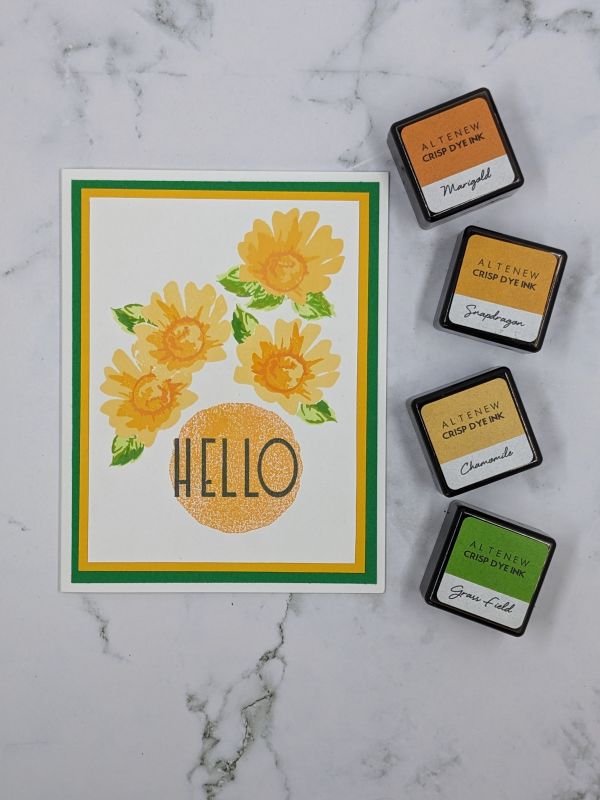
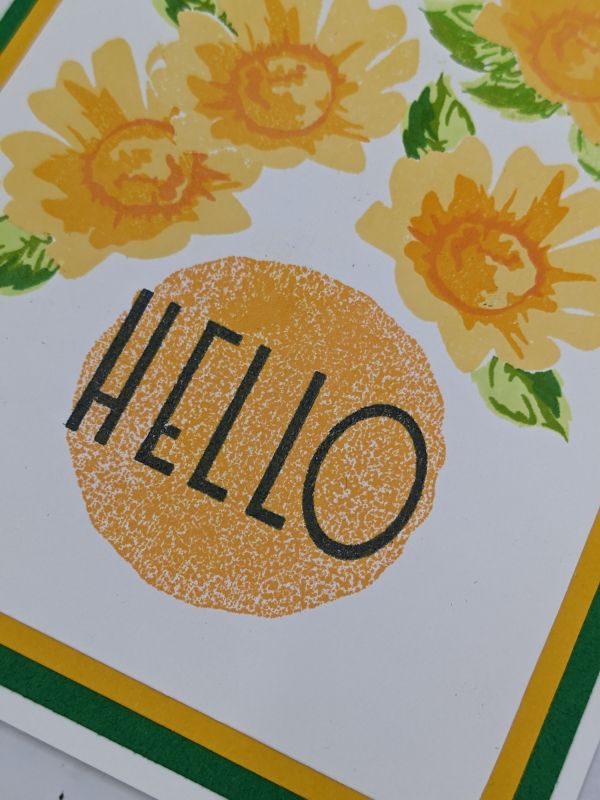
To start this project, I chose Altenew’s Daisy, Note for You, and Halftone Circles stamp sets. First, I stamped the flowers in Chamomile Crisp Dye Ink. I stamped the next two layers in Snapdragon, then Marigold. Next, I stamped the leaves with Limeade, Fresh Leaf, and Green Field. Then I created the background of the sentiment by inking the reverse side of a medium sized circle from the Halftone Circles stamp set, using Marigold. I stamped “Hello” from the Note for You stamp set. Finally, I layered the panel onto gold and green cardstock, and attached it to the card base. I kept it simple without any additional embellishments to make it easy to mail.
What I Learned
I can use the reverse side of any clear stamp, inking it to form a shadow block. It’s easy and effective! In the future, I will be taking a closer look at the overall shapes of all of my clear stamps. One idea is inking the reverse of a sentiment stamp to create a shadow background for it. Quick and simple. I prefer cards that don’t take hours to make.
See my previous AECP homework assignments: easy die cutting techniques, layering 3, layering 4, and stencil.